- Home
- Free guides
- Mehndi
Simple Mehndi Design for Beginners: Easy Front Hand Designs Step by Step (With Pictures)
Simple mehndi is just a few basic shapes – dots, lines, petals, leaves and circles – put together in small steps. Practise the shapes on paper, start with finger designs, then move to a palm mandala.
- Every mehndi design is built from about 12 basic shapes.
- Practise on paper first, then fingers, then the palm.
- Use only natural henna – never "black henna".
If you have ever looked at a full bridal mehndi and thought "I can never do that", here is the good news: every design – even the most detailed one – is made of a handful of simple shapes repeated with care. Once you can draw those shapes smoothly, simple mehndi designs for beginners become a matter of putting them together step by step.
The 12 basic shapes every design uses
Practise each shape on paper with a pen until your lines look smooth, then try it with a cone.
- Dot – fillers, borders and bead chains.
- Line – finger bands and frames.
- Wave – soft borders that fill gaps.
- Spiral – fills empty corners beautifully.
- Petal – the building block of every flower.
- Leaf – for vines and Arabic trails.
- Paisley (keri) – the classic Indian mango shape.
- Flower – the centrepiece of a palm design.
- Jaali (net) – criss-cross fill for wrists and fingers.
- Bel (vine) – a curving line with leaves.
- Arch (scallop) – borders under the fingers.
- Mandala ring – rings of petals around a circle.
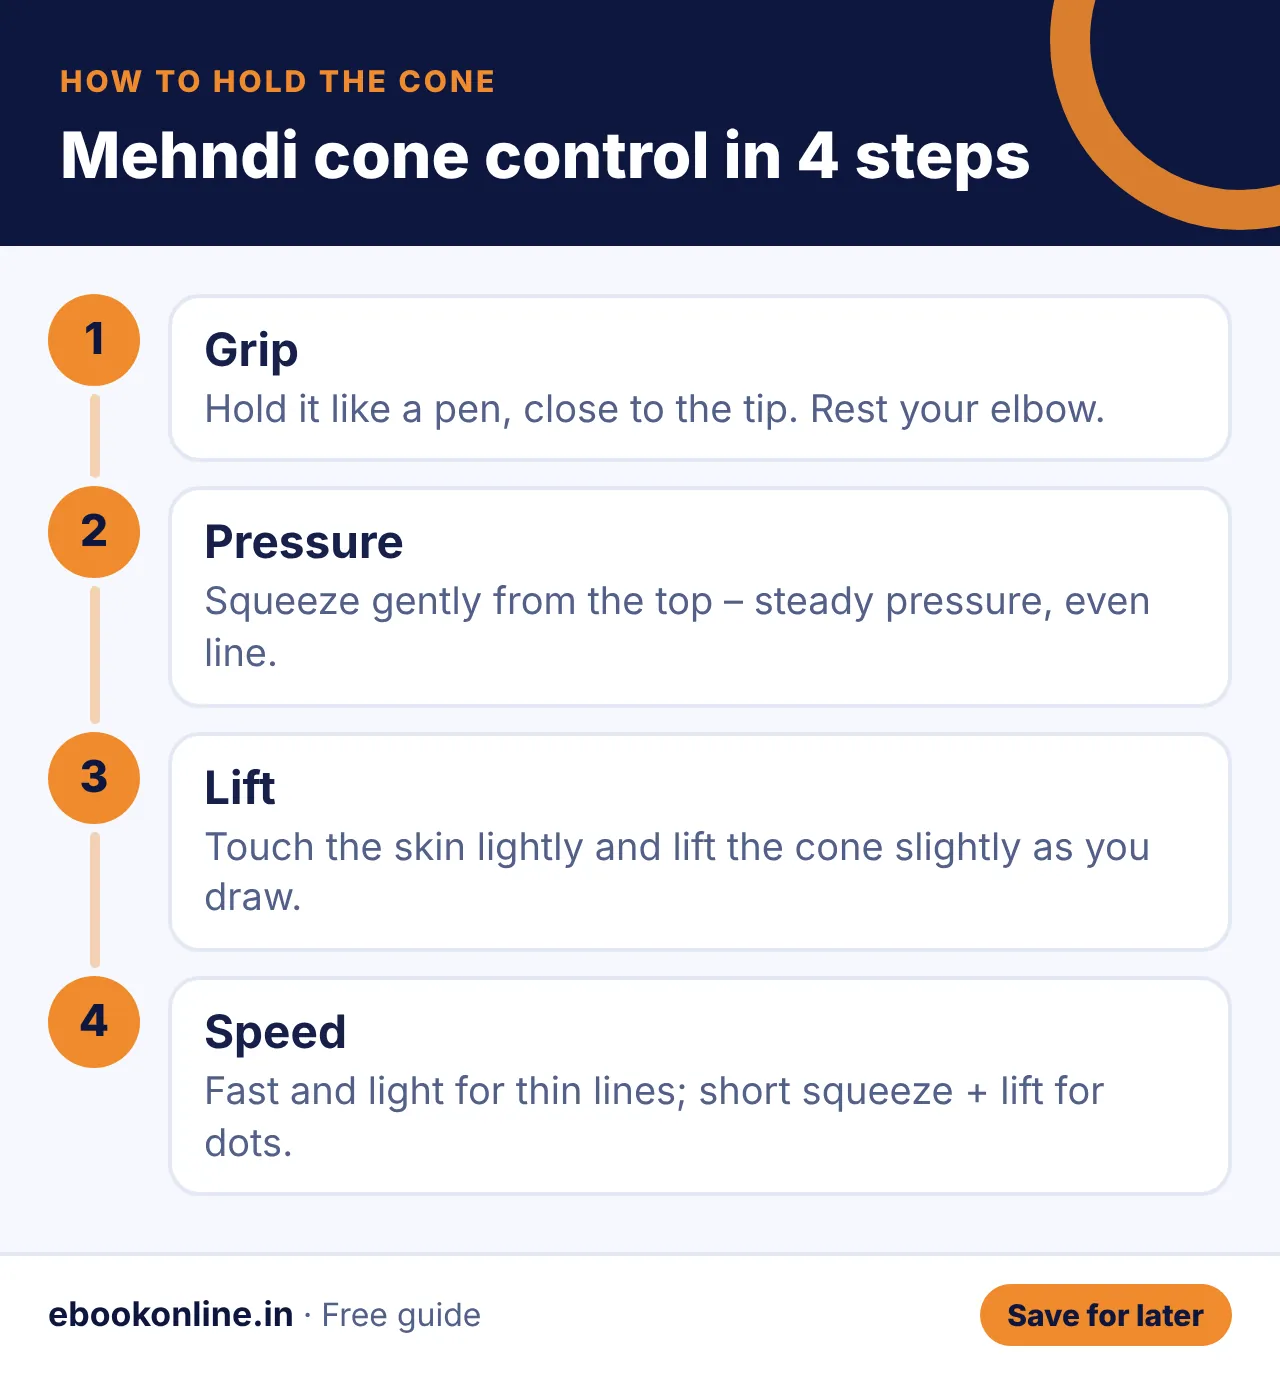
How to hold the mehndi cone
Show as text
- Grip: hold the cone like a pen, close to the tip, and rest your hand on the table.
- Pressure: squeeze gently from the top – steady pressure gives an even line.
- Lift: touch the skin lightly and lift the cone slightly while you draw.
- Speed: fast, light movement for thin lines; a short squeeze and lift for dots.
Take a pen and paper and draw each of the 12 shapes five times. Then draw the finger design above three times – you are ready for the cone.
Your first design: easy finger mehndi
Finger designs are the best place to start because the area is small and mistakes are easy to fix. Here is a simple three-step finger design:
Next: a simple palm mandala (gol tikki)
A round tikki in the centre of the palm looks full and festive, and it is simply rings drawn one after another – a small circle, a ring of petals, a ring of dots.
Tips for a dark mehndi colour
Show as text
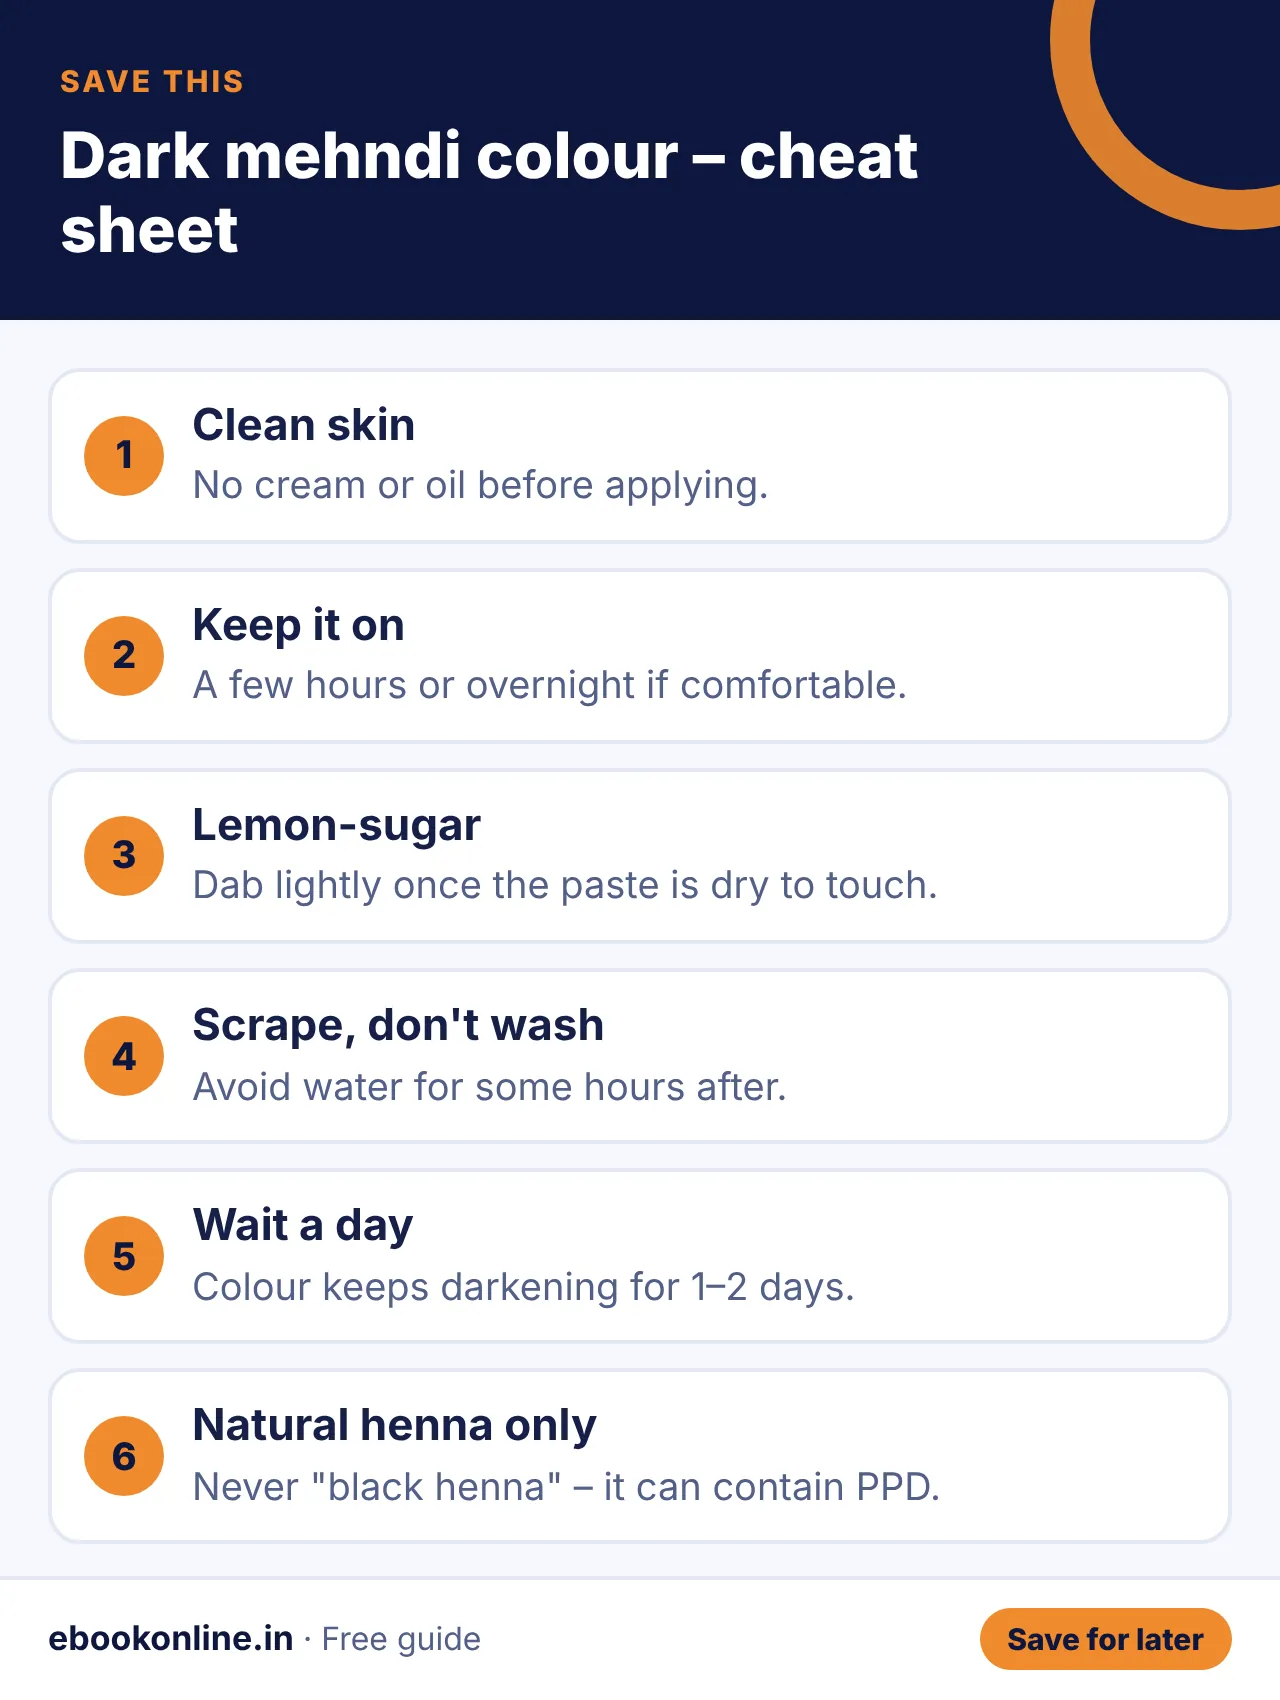
- Apply on clean, dry skin – no cream or oil.
- Keep the paste on as long as you comfortably can – a few hours or overnight.
- Dab a little lemon-sugar mix on dry mehndi so it stays on.
- Scrape it off when dry instead of washing, and avoid water for some hours.
- The colour keeps darkening for a day or two; palms usually get darker than the back of the hand.
Use only natural henna. Avoid "black henna" – it can contain PPD, a chemical that can cause serious skin reactions. Do a small patch test before applying mehndi on others, especially children.
A simple practice plan
Spend 20 minutes a day: week 1 on lines and finger designs, week 2 on the palm mandala, week 3 on back-hand and Arabic designs, and week 4 on creating your own. Practising on paper for a week before your first real application makes a big difference.
Beginner mistakes (and quick fixes)
| Mistake | Fix |
|---|---|
| Shaky, uneven lines | Rest your elbow on the table and pull the cone towards you |
| Blobs at the start of a line | Wipe the tip on a tissue before every new line |
| Design looks crowded | Leave some skin empty – space is part of the design |
| Paste cracks and falls | Dab lemon-sugar once it is dry to the touch |
| Colour is light | Keep it on longer and avoid water for some hours |
Which design should you try for which occasion?
- Karwa Chauth and pujas: a round palm tikki with filled fingertips – quick and traditional.
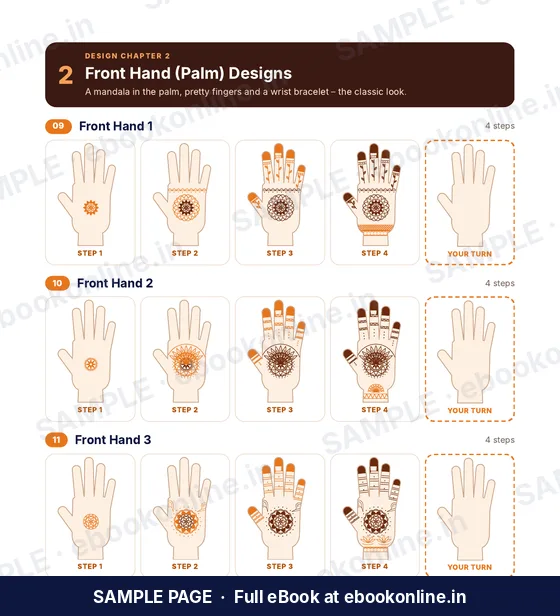
- Weddings and sangeet: a front-hand design with mandala, bracelet and full fingers.
- Office or college: a light Arabic trail or a finger-only design.
- Kids: a small flower, heart or star – done in 2–5 minutes.
Mehndi season usually means festivals – plan the fasting menu with our Navratri vrat food list, and make matching invitation cards with Canva. Once palms feel easy, move on to easy back hand mehndi designs. If you want to turn mehndi into income, see our list of small business ideas from home – mehndi artist is one of the lowest-cost ideas. Browse more creative books in Mehndi & Design eBooks.
A look inside the eBook: Easy Mehndi Designs
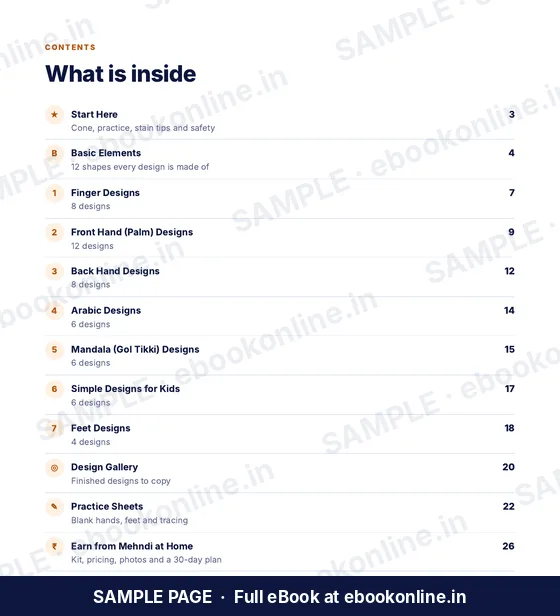
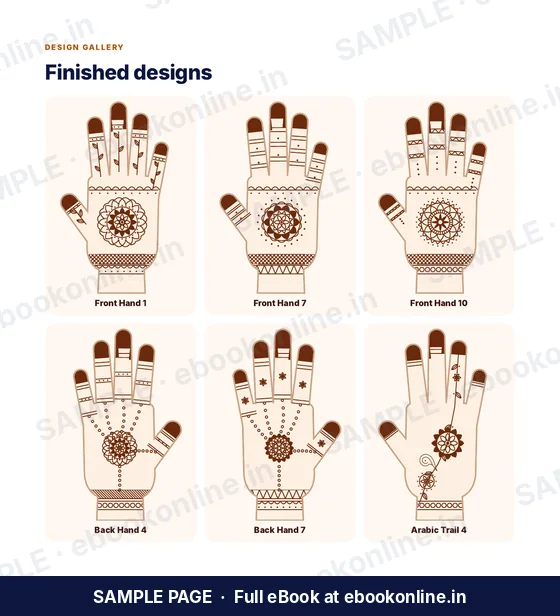
This article covers the basics. The full eBook goes step by step – these are real sample pages from the 28-page PDF. Tap any page to see it bigger.

What you get for ₹99
- 50 step-by-step designs
- Printable practice sheets
- Earn-from-home tips
- Before You Start – Holding the cone, making a cone and dark-colour tips.
- 12 Basic Elements – Lines, petals, leaves, paisley, flowers, jaali and more.
- 28-page PDF · read on phone or print at home · instant download after payment
Coming soon.
Frequently asked questions
Which mehndi design is easiest for beginners?
Finger designs and a small round tikki in the palm are the easiest. They use only dots, lines, petals and rings, and the area is small enough to practise quickly.
How can I practise mehndi without wasting cones?
Draw the designs on paper with a pen first, or practise with a cone on a plastic sheet or plate. Move to your hand once your lines are smooth.
How long should I keep mehndi on?
Keep it on as long as you comfortably can – a few hours or overnight – and scrape it off when dry rather than washing it.
Can I practise mehndi on paper?
Yes. Drawing the shapes with a pen on paper is the best way to build steady lines before you use a cone.
How do I make my own mehndi cone?
Roll a plastic or cellophane triangle into a cone, tape it, fill it halfway with paste, seal the top and snip a tiny opening at the tip.