- Home
- Free guides
- Mehndi
Back Hand Mehndi Design Simple and Easy: Step-by-Step Haathphool (With Pictures)
The easiest back hand mehndi is a haathphool pattern: a small round motif in the middle of the back of the hand, bead chains to each finger, and simple bands with filled fingertips. It looks like jewellery and takes about 20 minutes.
- Start with a double bracelet at the wrist – it frames the whole design.
- Draw a small mandala in the centre, then bead chains to each finger.
- Leave empty skin between elements – space makes back-hand mehndi look neat.
Back hand mehndi designs are popular because they show in every photo – when you hold a glass, fold your hands or show your bangles. The good news: the back of the hand is flatter than the palm, so lines are easier to draw. Start with the haathphool (hand-jewellery) style below.
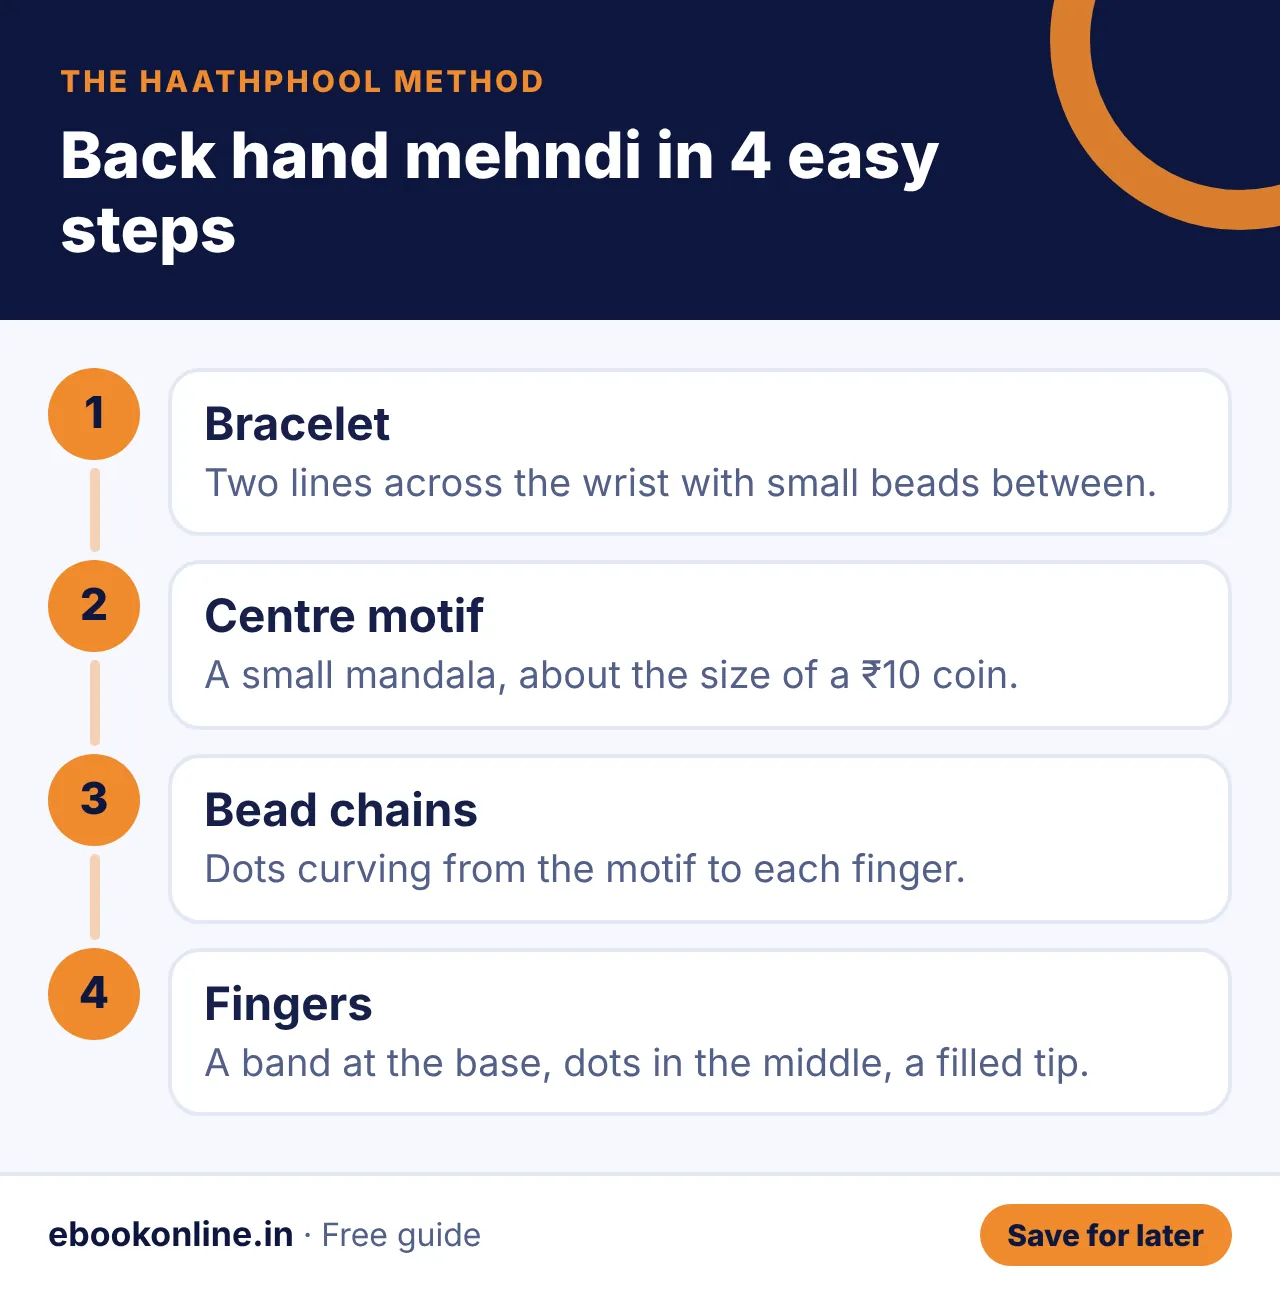
Step-by-step haathphool design
Show as text
- Bracelet first: two lines across the wrist with small arches or beads between them.
- Centre motif: a small mandala about the size of a ₹10 coin, just below the knuckles.
- Bead chains: rows of small dots curving from the motif to the base of each finger.
- Fingers: a band at the base, a small flower or dots in the middle, and a filled tip.
Trace your hand on paper and draw the 4 steps with a pen. Time yourself – aim for under 20 minutes.
Three easy variations
- Flower fingers: replace the finger bands with a small 6-petal flower on each finger.
- Double chain: two parallel bead chains to the middle finger only, for a modern look.
- Arabic touch: add one diagonal vine with leaves from the index finger to the wrist (see our simple mehndi designs guide for the basic shapes).
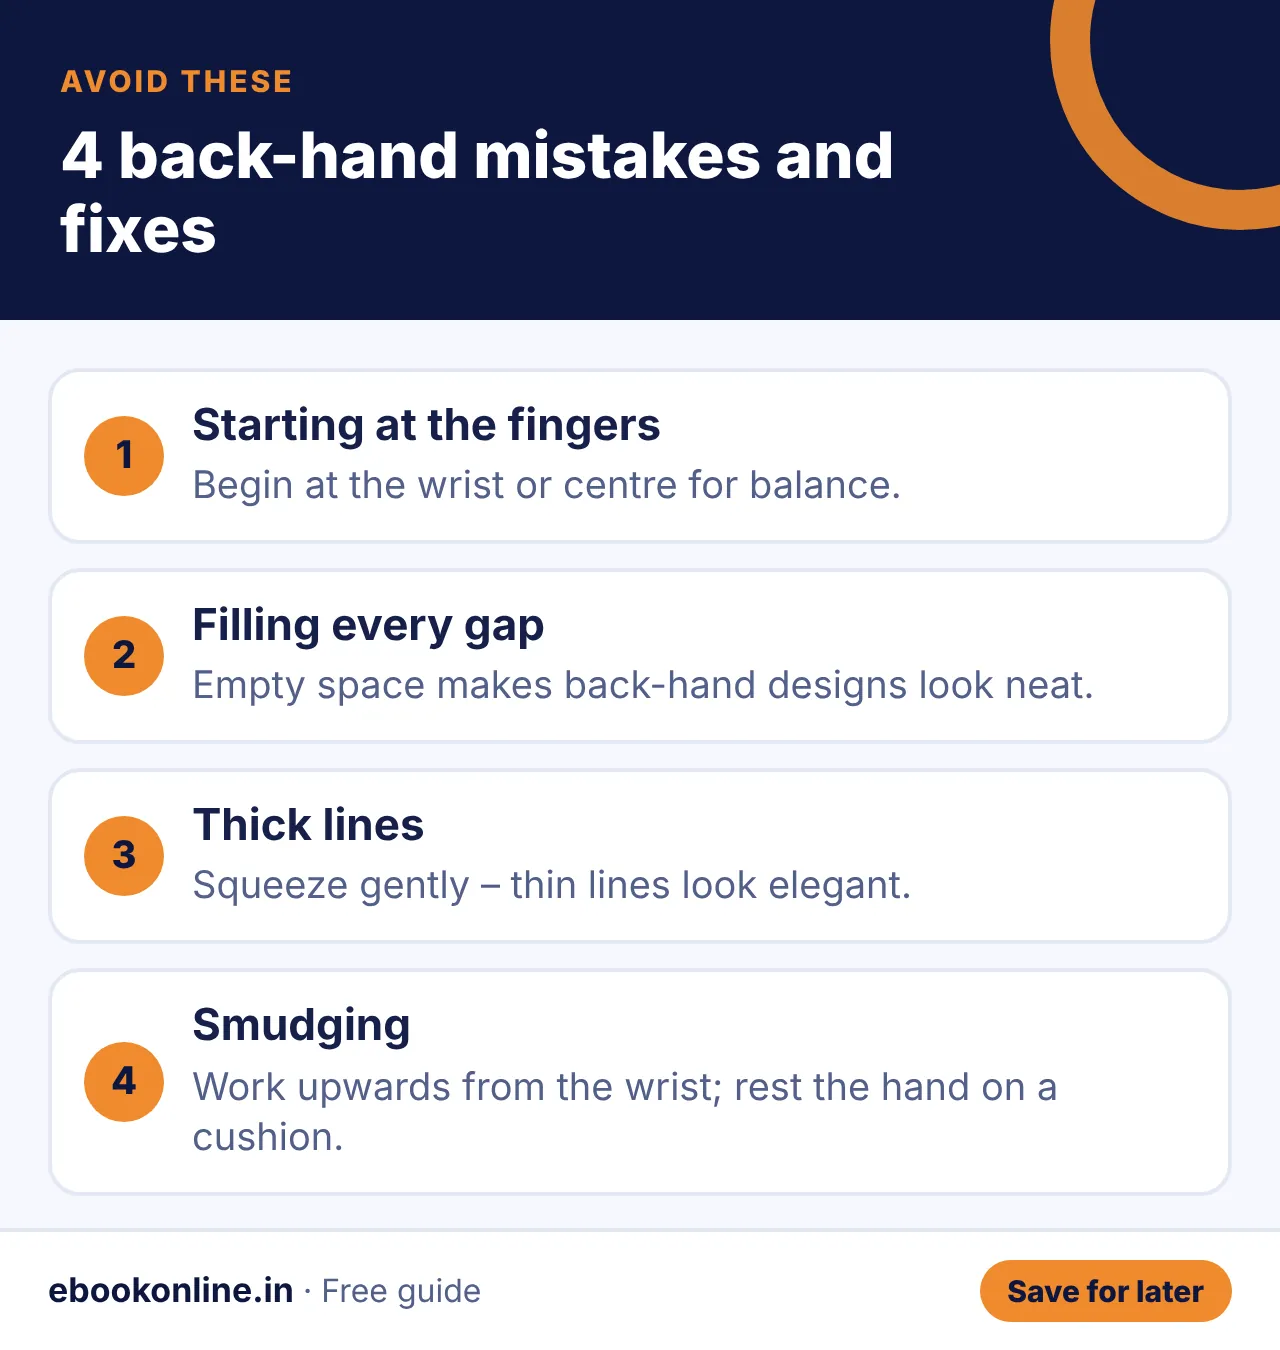
Mistakes beginners make on the back hand
Show as text
- Starting at the fingers: begin at the wrist or centre so the design stays balanced.
- Filling every gap: back-hand designs look best with clear empty spaces.
- Thick lines: squeeze gently – thin lines look more elegant on the back of the hand.
- Smudging: work from the wrist upwards and rest your hand on a cushion.
Use only natural henna. Avoid "black henna", which can contain PPD and cause serious skin reactions.
How to practise back-hand designs
- Print a hand outline or trace your own hand on paper.
- Draw the bracelet and centre motif first.
- Add chains and finger bands.
- Time yourself – aim for under 20 minutes.
Best occasions for back-hand mehndi
- Karwa Chauth and Teej – pair with a palm tikki on the front.
- Diwali and Eid – add a light Arabic trail.
- Weddings – combine with a full front-hand design.
Start from the basics in simple mehndi designs for beginners. Planning festival food too? See the Navratri vrat food list. If friends start asking you to apply mehndi, see how to start a home business. More: Mehndi & Design eBooks.
A look inside the eBook: Easy Mehndi Designs
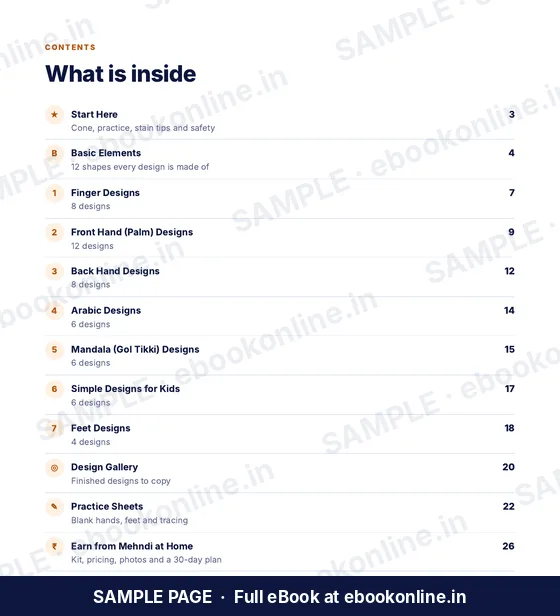
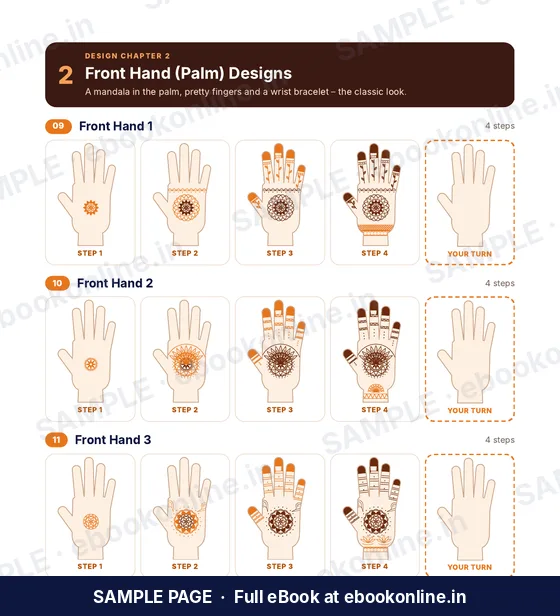
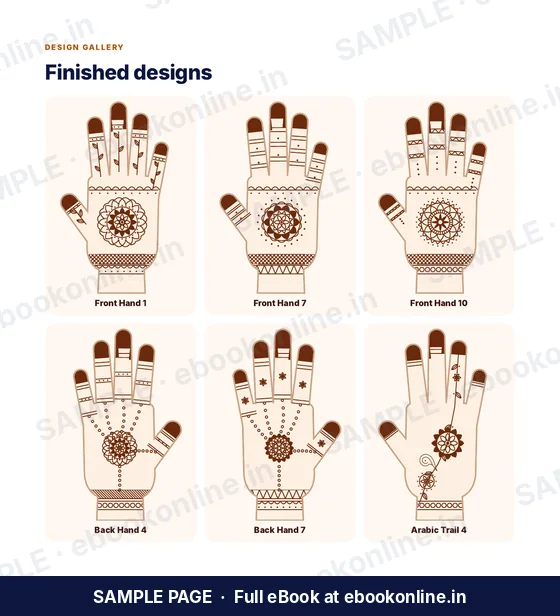
This article covers the basics. The full eBook goes step by step – these are real sample pages from the 28-page PDF. Tap any page to see it bigger.

What you get for ₹99
- 50 step-by-step designs
- Printable practice sheets
- Earn-from-home tips
- Before You Start – Holding the cone, making a cone and dark-colour tips.
- 12 Basic Elements – Lines, petals, leaves, paisley, flowers, jaali and more.
- 28-page PDF · read on phone or print at home · instant download after payment
Coming soon.
Frequently asked questions
Which back hand mehndi design is easiest?
A haathphool design – a small centre motif with bead chains to each finger and a wrist bracelet – is the easiest because it uses only dots, rings and lines.
How long does a back hand mehndi take?
A simple haathphool design takes about 15–25 minutes for a beginner.
Does mehndi get darker on the back of the hand?
Usually the colour is a little lighter on the back of the hand than on the palm. Keeping the paste on longer helps.
Should I do front or back hand first?
Many beginners find the back of the hand easier because it is flatter. Practise both on paper first.
How do I avoid smudging?
Work from the wrist towards the fingers and rest your hand on a cushion while it dries.